Reflective Vinyl Lettering StickerQuick Links
Quick Links
Reflective Vinyl Lettering Stickers are one of the most versatile marketing tools for any business. They are a quick and inexpensive way to share your contact details with business partners or new potential clients and play an important role in creating a lasting first impression
MYR 89.2
Per 1 pcsFast Delivery
STEP 1Do you have a design ready?
STEP 2Choose Your Options
Need help configuring your product or preparing your artwork?
50490, Kuala Lumpur
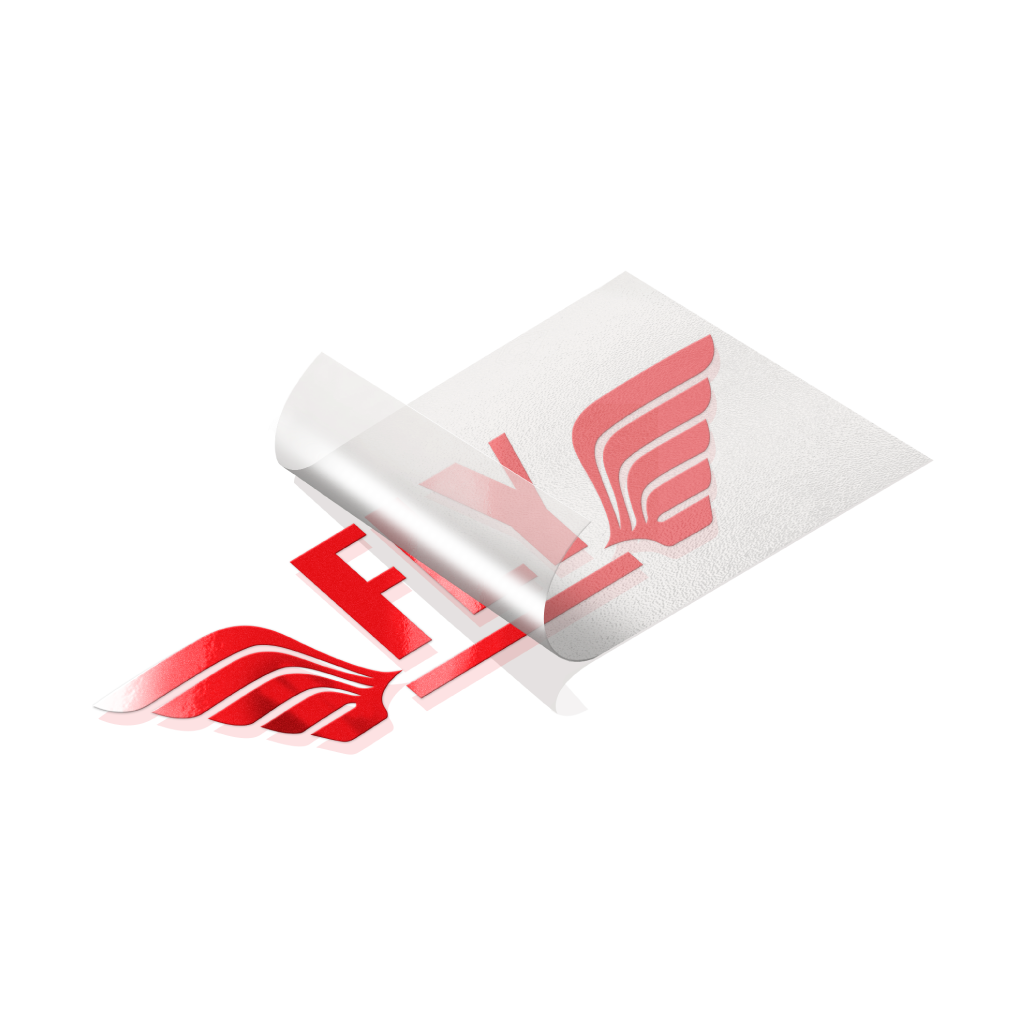
Reflective Vinyl Lettering Sticker
Format
Choose Format
Can't find the size you need?
Infos & Tips Reflective vinyl lettering stickers are adhesive labels made from reflective vinyl material, cut into custom letters or numbers, which enhance visibility by reflecting light. Choose from our standard sizes, each offering its own canvas for creativity
Reflective vinyl lettering stickers are adhesive labels made from reflective vinyl material, cut into custom letters or numbers, which enhance visibility by reflecting light. Choose from our standard sizes, each offering its own canvas for creativityHow to choose the perfect fit?
If you have an artwork, check the size using Adobe Acrobat's 'Check Document Property' feature; find more info here If you do not have an Artwork file ready, feel free to use any one of the templates provided for the standard sizes.Colors
Choose Colors
Infos & Tips Our product now offers Reflective Red and Reflective White
Our product now offers Reflective Red and Reflective WhiteWhich color sticker should I choose?
Each option brings unique design possibilities and functionality to suit diverse preferences and applications. Whether you prefer the bold visibility of Reflective Red or the clean, striking look of Reflective White, our Reflective Vinyl Lettering Stickers ensure the perfect fit for your needs.Paper Type
Choose Paper Type
Infos & TipsExplore our reflective color sticker materials, each uniquely tailored to cater to your specific needs and preferences.
Explore our reflective color sticker materials, each uniquely tailored to cater to your specific needs and preferences.Which material should I choose?
Discover our range of sticker materials tailored to your needs. Our Reflective Color Stickers feature a glossy, reflective surface that enhances vibrancy and visibility, perfect for both indoor and outdoor use. Elevate your creations and make a lasting impression today.Finishing
Choose Finishing
Infos & Tips We offer Standard cut stickers.
We offer Standard cut stickers.Which standard cut?
Standard cut stickers are designed in simple shapes like squares or circles, providing a clean and uniform look. This option offers a blend of design and functionality, ensuring a professional finish that suits a variety of applications. Choose Standard cut stickers for a reliable and visually appealing result.STEP 3
Choose a Quantity & Delivery Date
Please select the price below to see the cutoff time.
Quantities
Receive your products by
1 pcs
2 pcs
3 pcs
5 pcs
10 pcs
20 pcs
50 pcs
100 pcs